How to Repair Torn Trunk Organizer Seams: Easy Step‑by‑Step DIY Fix for a Durable, Long‑Lasting Repair
Introduction
Trunk organizers are valuable accessories that keep cargo secure and prevent items from shifting during travel. Over time, the seams of a fabric organizer may tear due to heavy loads or sharp edges. This guide explains how to repair torn trunk organizer seams efficiently, using either a specialized fabric repair kit or a heat‑activated adhesive solution. By following the steps, one can restore the organizer's strength, extend its service life, and avoid the cost of replacement.
The instructions are designed for an intermediate DIY audience; basic hand‑tool skills are assumed, but no prior sewing experience is required. Each step includes a recommendation for a product that simplifies the process, along with an explanation of why that product is advantageous compared with generic alternatives.
Readers will finish with a fully functional organizer, a clear understanding of the repair materials, and confidence to tackle similar fabric repairs in the future.
What You'll Need
- Clean cloth or microfiber towel
- Scissors or utility knife
- Fine‑grade sandpaper (optional, for frayed edges)
- Either Coconix Fabric & Carpet Repair Kit or Emson No Stitch Fabric Repair Kit
- Protective gloves
- Small mixing tray (plastic or disposable)
- Fine brush or spatula (included in kits)
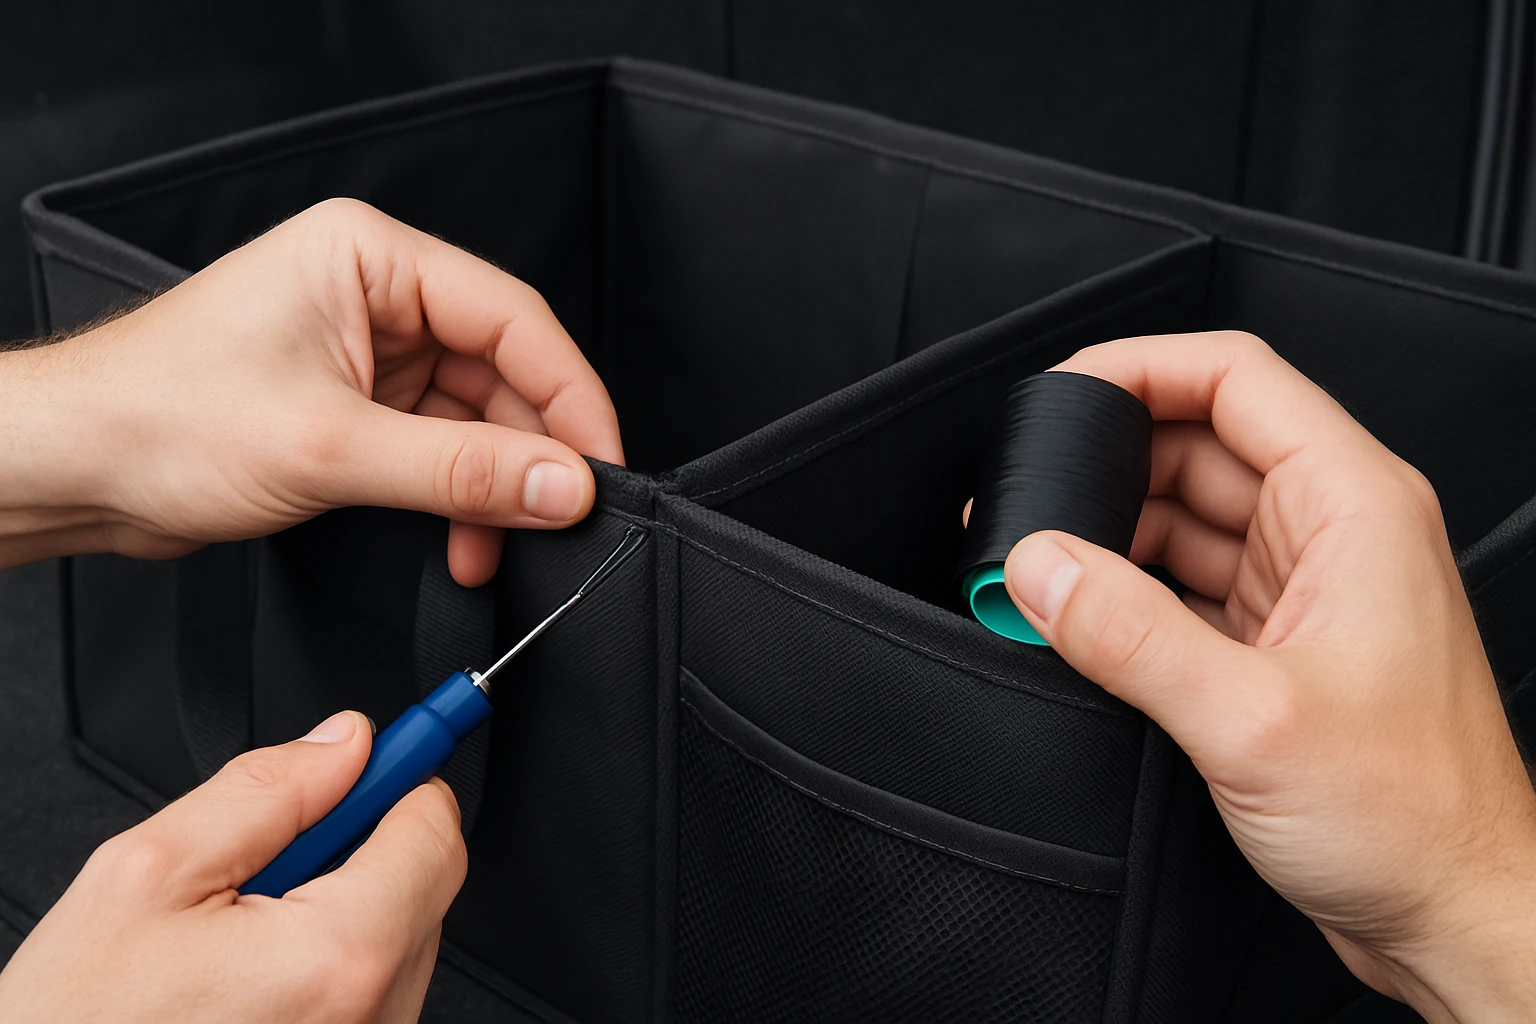
Step 1 – Assess the Damage
The first action is to examine the torn seam closely. Identify whether the tear is a clean cut, a frayed edge, or a hole that has enlarged under stress. Use a bright light or natural daylight to see the fiber orientation. This assessment determines which repair method is most suitable: a color‑matched filler for larger holes (Coconix) or a heat‑activated bond for straight seams (Emson).
If the tear is less than half an inch and the surrounding fabric is intact, the heat‑activated adhesive from the Emson kit can seal the seam quickly. For larger gaps or visible discoloration, the Coconix kit provides customizable color matching and a flexible filler that blends with the original material.
Record the fabric type of the organizer (e.g., polyester blend, nylon, or cotton) because both kits list compatible fabrics. This information will guide color mixing and heat‑setting temperatures later in the process.
Step 2 – Clean and Prepare the Area
Before any adhesive is applied, the seam must be free of dust, grease, or loose fibers. Dampen a clean microfiber towel with mild soap solution, then gently wipe the torn area. Allow the fabric to air‑dry completely; moisture can interfere with adhesive bonding.
If the edges are frayed, lightly sand them with fine‑grade sandpaper to create a smooth transition. This step improves adhesion by providing a uniform surface for the filler or adhesive to grip.
Protect the surrounding fabric with painter's tape if the repair area is close to other seams. This precaution prevents accidental glue spread and maintains a neat finish.
Step 3 – Choose the Appropriate Repair Kit
For a tear that requires color matching and a flexible patch, select the Coconix Fabric & Carpet Repair Kit. This kit includes a quick‑dry formula, a spectrum of pigments, and a flexible filler that mimics the original fabric texture. It is rated 4/5.0 with 4,919 reviews and costs $19.95, indicating strong consumer confidence.
For a straight seam where speed and washability are priorities, the Emson No Stitch Fabric Repair Kit is ideal. It features an electric heating wand, adhesive powder, and a non‑stick Teflon pressing piece. Priced at $16.49 and rated 4.1/5.0 from 2,577 reviews, it offers a reliable, machine‑washable bond without the need for stitching.
Both kits are designed for a wide range of fabrics, including polyester, nylon, and cotton, ensuring compatibility with most trunk organizers.
Step 4 – Prepare the Repair Material
If using the Coconix kit, open the color‑mixing container and select pigments that approximate the organizer's shade. The kit provides a foolproof mixing guide; start with a base color (e.g., gray) and add small amounts of secondary pigments (e.g., brown or blue) until the desired hue is achieved. Mix the filler with the included adhesive using the spatula until a smooth, paste‑like consistency forms.
For the Emson kit, dispense the adhesive powder onto the torn seam, ensuring an even layer that covers the entire gap. The powder is formulated to melt and bond when heated, creating a seamless weld.
Both kits recommend wearing gloves during mixing to avoid staining the skin and to maintain a clean work environment.
Step 5 – Apply the Repair
With the Coconix filler prepared, use the spatula to press the mixture into the tear, slightly overfilling to allow for shrinkage as it cures. Smooth the surface with the brush, feathering the edges into the surrounding fabric. The quick‑dry formula sets within minutes, but allow at least 30 minutes for full hardness.
When using the Emson system, place a piece of wax paper over the powdered adhesive, then activate the heating wand for approximately 30 seconds per inch of seam. The wand’s Teflon tip distributes heat evenly, melting the powder and bonding the fibers together. After heating, remove the wax paper and let the seam cool for a few minutes before handling.
Both methods benefit from a gentle press with a flat object (e.g., a book) to ensure the filler or adhesive adheres uniformly across the seam.
Step 6 – Allow the Repair to Cure
After application, let the repaired area rest undisturbed. For Coconix, a 2‑hour cure time guarantees maximum flexibility and durability. For Emson, the bond becomes water‑resistant after the material reaches room temperature, typically within 10‑15 minutes.
Do not subject the organizer to heavy loads or compression during this period, as stress can weaken the new bond.
Once cured, gently brush away any excess filler or powder residue with a soft brush to restore the fabric's original texture.
Step 7 – Test the Repair
Place a moderate weight (e.g., a grocery bag) on the repaired seam and observe for any signs of separation or flexing. If the seam holds firm, the repair is successful. For added assurance, run the organizer through a brief low‑heat cycle in a dryer (if fabric permits) to simulate real‑world conditions.
Both kits are designed for long‑term performance; the Coconix filler remains flexible, while the Emson bond endures repeated wash cycles without delamination.
Document the repair with a photo for future reference, especially if the organizer is used in a high‑stress environment.
Tips & Pro Tips
- Work in a well‑ventilated area to avoid inhaling adhesive fumes.
- Match colors in natural daylight; artificial lighting can distort hues.
- For very large holes, cut a small fabric patch from a matching scrap and embed it within the Coconix filler for extra reinforcement.
- If the Emson heating wand feels too hot, pause briefly to prevent scorching the fabric.
- Store any unused filler or powder in airtight containers to maintain potency for future repairs.
Troubleshooting
Problem: Filler cracks after drying.
Solution: Ensure the mixture was not over‑thinned with water. Add a small amount of the base adhesive to increase flexibility.
Problem: Heat‑activated bond feels stiff.
Solution: Reduce heating time by a few seconds and allow the fabric to cool gradually. Excess heat can cause the adhesive to harden excessively.
Problem: Color mismatch.
Solution: Test a tiny amount of mixed pigment on an inconspicuous area before full application. Adjust with additional pigments until the shade aligns.
Conclusion
Repairing torn trunk organizer seams does not require specialized sewing equipment; with the right adhesive tools, one can achieve a professional‑grade finish. By assessing the damage, cleaning the area, selecting the appropriate kit, and following the step‑by‑step process, the organizer regains structural integrity and aesthetic appeal. The recommended products—Coconix Fabric & Carpet Repair Kit and Emson No Stitch Fabric Repair Kit—provide flexible, durable solutions that cater to different types of tears and user preferences.
One should now feel equipped to extend the lifespan of a trunk organizer, reduce waste, and maintain a tidy vehicle interior. Future fabric repairs will become simpler as the techniques described become familiar.
Products Mentioned in This Guide
Coconix Fabric & Carpet Repair Kit
Price: $19.95
Rating: 4/5.0 (4,919 reviews)
Features: All‑in‑one repair solution, customizable color spectrum, flexible quick‑dry formula, suitable for fabric and carpet, includes mixing guide and tools.
Emson No Stitch Fabric Repair Kit
Price: $16.49
Rating: 4.1/5.0 (2,577 reviews)
Features: Handheld electric heating wand with Teflon pressing tip, 3.5 oz adhesive powder, works on denim to silk, machine‑washable bond, complete package includes stand and holder.
Frequently Asked Questions
What tools and materials are required to repair a torn trunk organizer seam?
You need a clean cloth, scissors or a utility knife, a fabric repair kit or heat‑activated adhesive, and optionally a microfiber towel for cleaning.
Do I need sewing experience to fix a trunk organizer seam?
No, the guide uses a fabric repair kit or heat‑activated adhesive that work without any stitching skills.
How does a heat‑activated adhesive compare to a traditional fabric repair kit?
Heat‑activated adhesive bonds quickly and creates a flexible seal, while a fabric repair kit offers a more traditional patch that may be easier for beginners.
How durable is the repaired seam after using these DIY methods?
When applied correctly, the repaired seam can restore original strength and last for months of regular use.
Can these repair methods be used on any type of trunk organizer material?
Yes, both the adhesive and repair kit work on most fabric, nylon, and polyester organizers, but always test on a hidden area first.