Introduction
Winter weather introduces moisture, road salt, and extreme temperature fluctuations that can damage both cargo and the organizer itself. This guide explains how to prepare a modular trunk organizer so that groceries, tools, and emergency supplies remain dry, insulated, and free from corrosion. Readers will learn practical techniques, recommended tools, and the reasoning behind each step, ensuring long‑term durability. By following the instructions, one can avoid costly replacements and maintain a tidy, functional vehicle interior throughout the cold season.
What You’ll Need
- Soft brush or vacuum for cleaning
- Mild detergent and water
- Water‑proofing spray or sealant
- Insulating material such as reflective fleece or foam pads
- Anti‑salt protective spray
- Adjustable straps or Velcro fasteners
- Optional: one of the recommended trunk organizers as a reference model
Step 1: Clean and Inspect the Organizer
The first action is to remove all items and give the organizer a thorough cleaning. Use a soft brush or vacuum to dislodge loose debris, then wipe the fabric with a solution of mild detergent and warm water. Allow the organizer to air dry completely; moisture trapped inside can lead to mold once winter arrives. During inspection, verify that stitching, Velcro strips, and handles are intact, because any weak point will be exposed to snow and salt.
For those who own the HOTOR Car Trunk Organizer, the sturdy Oxford cloth and reinforced stitching provide a reliable baseline for cleaning. Priced at $11.99 with a 4.6‑star rating from 1,289 reviews, this model demonstrates how durable material resists wear during the cleaning process. The thickened base panel can bear over 60 lb, ensuring that the organizer will not collapse while you scrub it. By using a product with these specifications, the cleaning step becomes less risky and more efficient.
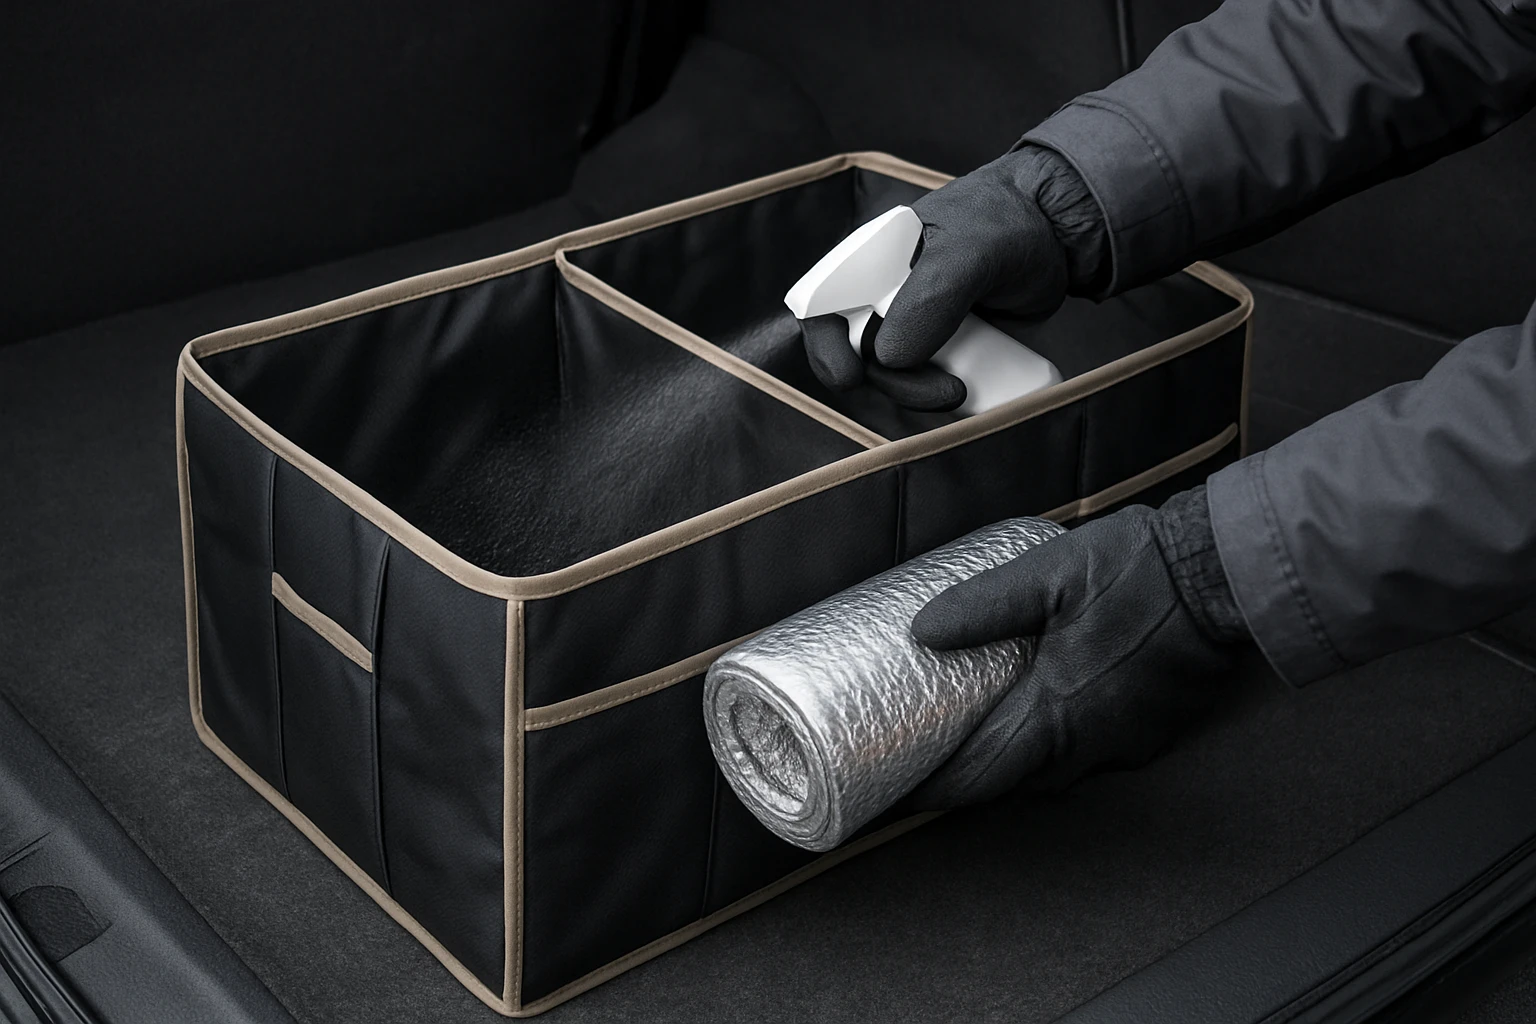
Step 2: Apply a Waterproofing Layer
After the organizer is dry, apply a waterproofing spray designed for fabric and polyester. Spray evenly, covering the exterior panels, side pockets, and any exposed seams. Allow the coating to cure for the manufacturer’s recommended time, typically 24 hours, before re‑assembling the compartments. This barrier prevents snow, rain, and melted ice from soaking the fabric, which can otherwise weaken the material and cause odors.
The SugarFox Modular SUV Trunk Organizer already incorporates a waterproof 600D Oxford fabric, making it an ideal reference for waterproofing performance. It costs $17.99 and holds a 4.9‑star rating from 57 reviewers, highlighting its effectiveness in wet conditions. Its modular snap‑fastener design also allows you to treat each section individually, ensuring complete coverage. Using a product with built‑in waterproofing reduces the need for additional sprays, but the extra coating adds a safety margin for older organizers.
Step 3: Add Insulation to Preserve Temperature
Insulation protects temperature‑sensitive items such as frozen foods, batteries, and electronics from extreme cold. Line the interior compartments with thin reflective fleece or foam pads, securing them with Velcro strips so they stay in place during travel. Position the insulating layer against the base panel, as this area contacts the vehicle floor, which can become icy in winter. Seal any gaps around the edges to prevent cold air from circulating inside the organizer.
The Homeve Collapsible Car Trunk Organizer features 3 mm thickened support panels and a waterproof Oxford cloth that already offers a degree of thermal resistance. Priced at $19.98 with a 4.7‑star rating from 17,013 reviews, it demonstrates how a robust panel can serve as an insulating base. By adding a supplemental fleece layer on top of this sturdy panel, one creates a dual‑action system that blocks both moisture and cold. This approach is especially useful for drivers who transport medical supplies that must remain above freezing.
Step 4: Protect Against Road Salt and Corrosion
Road salt is highly corrosive and can degrade fabric fibers, metal handles, and Velcro fasteners over time. Apply an anti‑salt protective spray to the organizer’s handles, D‑rings, and any metal components. Additionally, line the bottom of the organizer with a thin, leak‑proof liner to catch any salt‑laden water that may seep in. After each winter outing, wipe down the exterior with fresh water to remove residual salt deposits.
The HOTOR Tactical Car Trunk Organizer includes a front MOLLE pocket with reflective strips and D‑rings, making it a perfect candidate for anti‑salt treatment. It retails for $18.99 and enjoys a 4.7‑star rating from 136 reviewers, indicating reliable construction. Its heavy‑duty 600D Oxford fabric resists sagging, but the added protective spray extends the lifespan of the reflective strips and metal hardware. By selecting a model with built‑in metal features, the protective step becomes more targeted and effective.
Step 5: Secure the Organizer and Store When Not in Use
Finally, ensure that the organizer remains stable during driving to prevent cargo from shifting. Use the adjustable straps or Velcro fasteners to anchor the organizer to the trunk floor or side rails. When the vehicle is not in use for an extended period, collapse the organizer and store it in a dry location, preferably with the lid open to allow airflow. This practice prevents mildew and maintains the organizer’s shape for the next winter season.
The GDNasist Trunk Organizer with Cooler Bag offers removable partitions, a leak‑proof cooler bag, and adjustable straps that lock the unit in place. It is priced at $49.99 and carries a 4.6‑star rating from 861 reviews, reflecting its premium build quality. The cooler bag can double as an insulated liner for Step 3, while the sturdy straps address the stability requirement of this step. Its collapsible design also simplifies storage during the off‑season, making it a comprehensive solution for winterization.
Tips & Pro Tips
- Test any waterproofing or anti‑salt spray on a hidden area first to ensure colorfastness.
- Use a microfiber cloth for wiping away salt; it reduces scratching of fabric surfaces.
- Consider adding a small desiccant packet inside the organizer to absorb residual moisture.
- Rotate the organizer’s position in the trunk periodically to avoid uneven wear.
Troubleshooting
Problem: Organizer remains damp after a snowstorm.
Solution: Verify that the waterproofing layer was applied evenly and that seams are fully sealed. Re‑apply spray to any missed spots and allow extra curing time.
Problem: Salt stains appear on metal handles.
Solution: Rinse handles with fresh water immediately after each trip and re‑apply anti‑salt spray weekly during the season.
Conclusion
Winterizing a modular trunk organizer involves cleaning, waterproofing, insulating, protecting against salt, and securing the unit for stable use. By following the five detailed steps and employing the recommended products, one can safeguard cargo and extend the organizer’s service life. The guide equips readers with both the knowledge and the tools to confront snow, ice, and road salt confidently. Implement these practices each season, and the trunk will remain organized, dry, and ready for any winter adventure.
Products Mentioned in This Guide
Frequently Asked Questions
Why should I winterize my modular trunk organizer?
Winterizing protects the organizer and its contents from moisture, road salt, and temperature extremes, extending its lifespan and preventing corrosion.
What is the first step in preparing a trunk organizer for winter?
Remove all items, then clean the organizer with a soft brush or vacuum followed by mild detergent and water.
Which products help make a trunk organizer waterproof?
Apply a water‑proofing spray or sealant to all fabric and seams after the organizer is dry.
How can I improve insulation for cargo in cold weather?
Line the organizer with reflective fleece or foam pads to retain heat and keep items from freezing.
What extra protection is needed against road salt?
Use an anti‑salt protective spray on the organizer’s exterior and secure it with adjustable straps or Velcro to prevent movement.