How to Transport Potted Plants in a Car Trunk Organizer Without Spills or Damage
Introduction
Transporting potted plants from a garden, nursery, or home to a new location can be a delicate operation. One must protect the soil, the roots, and the plant itself from excessive movement, temperature fluctuations, and accidental spills. This guide explains how to use a car trunk organizer, a removable leak‑proof cooler bag, and reinforced fabric grow bags to achieve a secure and spill‑free transport. The reader will learn the essential preparation steps, the correct arrangement of tools, and best‑practice techniques that minimise damage to the plants.
By following the procedures outlined below, one can move multiple containers in a single trip while preserving plant health. The instructions are written for an intermediate audience who already understands basic gardening terminology but seeks a more systematic approach. Each step includes a rationale for the recommended product, ensuring that the reader appreciates why the tool is superior to generic alternatives.
The guide also provides practical tips, troubleshooting advice, and a concise summary of the products referenced. Even readers who choose not to purchase any of the items will gain valuable insight into how to improvise with household materials. Nonetheless, the recommended tools streamline the process and reduce the risk of costly plant loss.
Overall, the objective is to enable safe, efficient, and repeatable plant transport that can be applied to weekend garden trips, market deliveries, or relocation of indoor greenery.
What You’ll Need
- GDNasist Car Trunk Organizer with Cooler – durable 600D Oxford polyester organizer with removable leak‑proof cooler bag (price $52.99, rating 4.6/5).
- FORTEM Foldable Trunk Organizer 50L – collapsible storage box with non‑slip bottom and adjustable straps (price $27.99, rating 4.7/5).
- VIVOSUN 2 Gallon Fabric Grow Bags – breathable fabric pots with reinforced handles (price $19.99, rating 4.7/5).
- Plastic zip‑lock bags or biodegradable liners for additional moisture control.
- Soft towels or blankets to cushion the containers.
- Measuring tape and a marker to label each plant.
Step 1 – Select the Appropriate Grow Container
The first decision influences every subsequent step. For short‑term transport, the VIVOSUN 2 Gallon Fabric Grow Bags provide a lightweight yet sturdy alternative to traditional plastic pots. Their 300 g nonwoven fabric allows excess water to drain while still retaining enough moisture for the roots. The reinforced serged handles support a full bag of soil, preventing tearing during handling.
Each bag holds approximately 2 gallons of soil, which is sufficient for most medium‑sized houseplants and seedlings. Because the fabric is moderately permeable, the soil does not become waterlogged, reducing the likelihood of spillage when the bag is placed inside the organizer. The breathable nature also encourages healthier root development, an advantage over solid plastic containers that can trap heat.
When using the VIVOSUN bags, it is advisable to pre‑water the soil lightly and allow excess water to drain before placement. This step ensures that the bag does not become overly saturated, which could increase weight and cause shifting during transport.
In addition to the VIVOSUN bags, one may use standard pots if they are already in use. However, the fabric bags are recommended because they fold flat when not needed, saving valuable trunk space.
Step 2 – Prepare the Plant for Transport
After selecting the container, gently loosen the soil around the root ball with a small trowel. This action prevents the plant from becoming compacted during movement. Place a thin layer of newspaper or a biodegradable liner inside the bag to catch any loose soil particles that may escape.
Next, wrap the base of the plant with a soft towel or a piece of foam. This cushioning protects the stems from abrasion caused by the organizer’s sidewalls. For especially delicate foliage, a lightweight blanket can be draped over the top of the bag to shield the leaves from direct contact with the cooler bag’s interior.
Label each plant with a waterproof marker indicating its species and watering needs. Proper labeling assists in re‑planting at the destination and helps the driver remember which plants require immediate attention.
Finally, seal any zip‑lock bags that contain excess moisture to prevent leaks from reaching the trunk floor. This precaution is essential even when using the leak‑proof cooler bag, as a secondary barrier adds redundancy.
Step 3 – Configure the Trunk Organizer
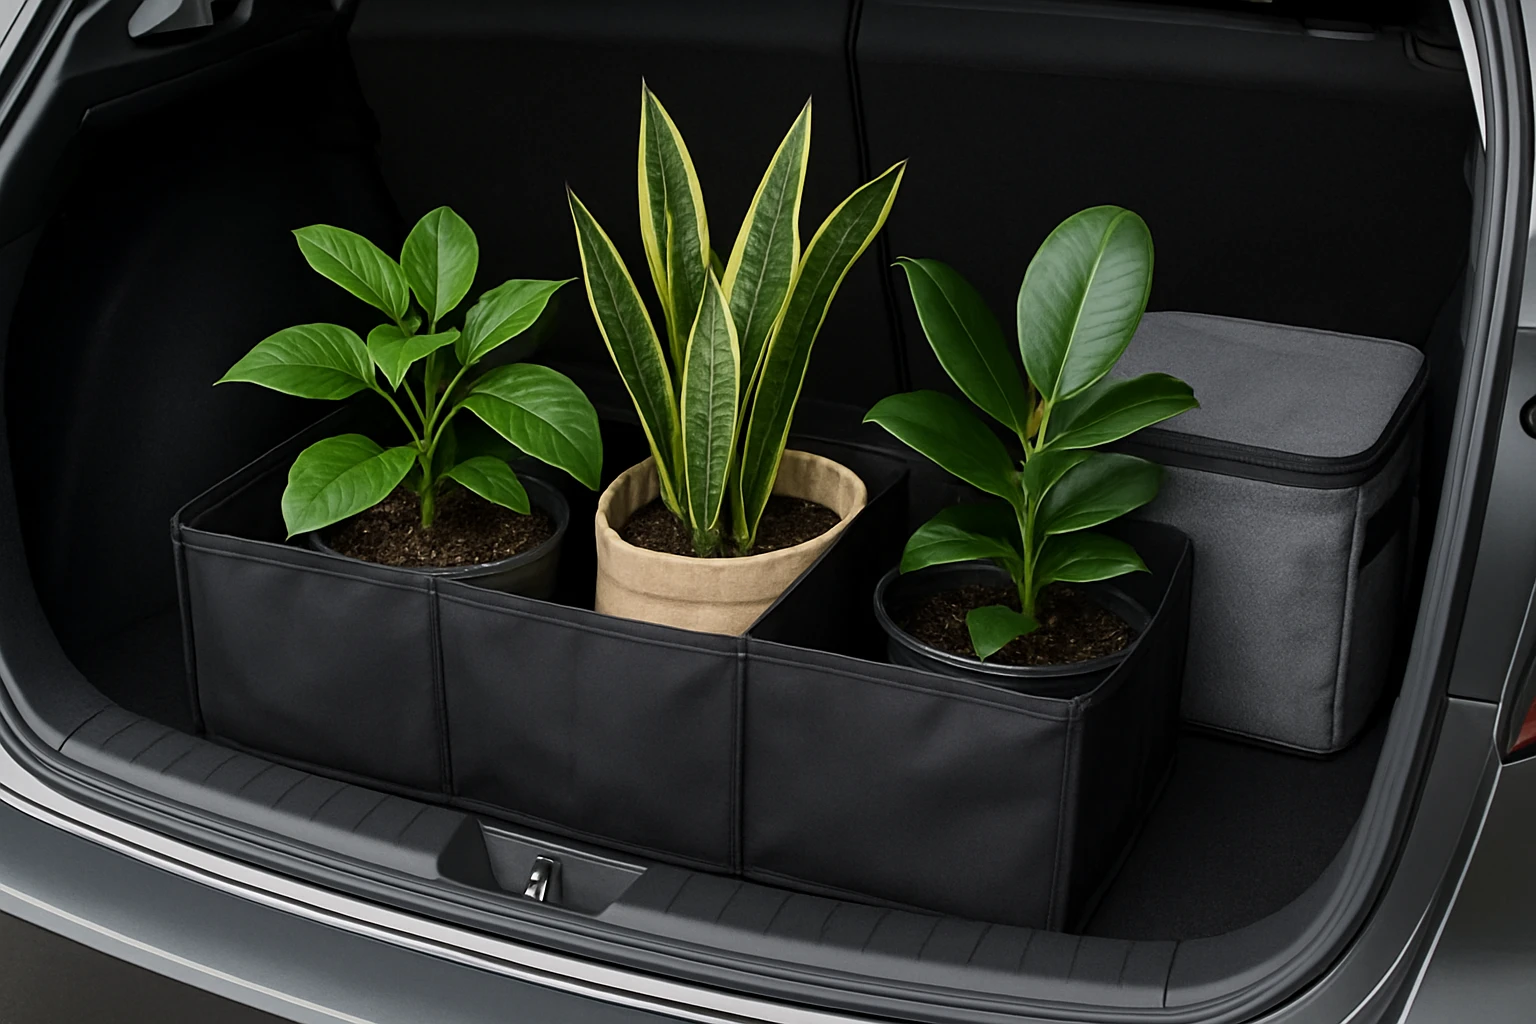
The GDNasist Car Trunk Organizer with Cooler offers six removable partitions, allowing the user to create custom compartments that match the dimensions of the grow bags. Begin by expanding the organizer to its full height and securing the non‑slip strips at the bottom to the trunk floor. The two adjustable straps should be fastened around the trunk’s side rails to prevent lateral movement.
Insert the removable cooler bag into the central compartment of the organizer. The cooler bag is leak‑proof and insulated, providing a stable temperature environment for sensitive plants. Its 35 L capacity can accommodate up to 40 cans of soda, which translates to ample space for several grow bags without crowding.
Arrange the remaining compartments by adjusting the removable dividers. Place the largest VIVOSUN bags in the central, most stable area, and position smaller containers toward the outer edges. This layout distributes weight evenly and reduces the chance of tipping during sudden stops.
If additional storage is required, the FORTEM Foldable Trunk Organizer 50L can be nested beneath the GDNasist organizer. The FORTEM unit features rigid base plates and interlocking buckles, creating a secondary platform that prevents the cooler bag from sliding forward.
Step 4 – Secure the Organizer in the Trunk
Once the plants are positioned, tighten the adjustable straps on the GDNasist organizer so that it hugs the trunk walls firmly. The straps are equipped with quick‑release buckles, allowing rapid adjustment without the need for tools. Verify that the non‑slip strips are fully engaged with the trunk floor; this contact creates friction that resists movement during acceleration or braking.
For added stability, run a soft rope or elastic band around the outer perimeter of the organizer and anchor it to the trunk’s built‑in hooks. This technique mimics the function of cargo nets used in professional transport and ensures that the cooler bag remains upright.
If the driver anticipates a long journey, consider filling the cooler bag with a few ice packs to maintain a cool micro‑climate. The insulated liner prevents temperature spikes that could stress tropical or heat‑sensitive species.
Finally, close the trunk and perform a gentle shake test. If any component shifts, re‑tighten the straps and adjust the dividers until the system feels immobile.
Step 5 – Load and Unload with Care
When loading the vehicle, open the trunk wide enough to slide the organizer in without forcing it. Use the built‑in handles on the organizer’s outer frame to lift it, distributing weight across both hands. Avoid lifting by the cooler bag alone, as this could strain the internal seams.
During transit, drive smoothly and avoid abrupt stops whenever possible. Sudden deceleration can cause the organizer to shift despite the straps, potentially bruising delicate foliage. If the journey exceeds two hours, pause at a safe location to check that the straps remain tight and that no condensation has formed inside the cooler bag.
Upon arrival, reverse the loading process. First, release the adjustable straps, then lift the organizer out of the trunk. Remove each plant gently, supporting the base with both hands to prevent the soil from spilling.
Place the plants in their new location promptly, and water them lightly if the soil feels dry after the trip. This final step helps the plants recover from any stress incurred during transport.
Tips & Pro Tips
- Use a breathable fabric liner inside the grow bag to capture stray soil while allowing air flow.
- Place a small tray of water under the cooler bag if transporting succulents that prefer a dry environment.
- For extremely tall plants, create a vertical support using a lightweight PVC pipe anchored to the organizer’s sidewalls.
- Check the cooler bag’s seal before each trip; a compromised seal can lead to leaks that soak the trunk carpet.
- When transporting multiple plants, label each compartment with a numbered tag to streamline unloading.
Troubleshooting
Problem: Soil spills onto the trunk floor despite using a cooler bag.
Solution: Verify that the cooler bag’s zipper is fully closed and that the inner zip‑lock liners are sealed. If the leak persists, place an additional waterproof mat beneath the cooler bag.
Problem: Organizer slides despite tightened straps.
Solution: Apply non‑slip rubber pads to the trunk floor before positioning the organizer. The GDNasist’s built‑in non‑slip strips work best when paired with a clean, dry surface.
Problem: Plants appear wilted after a short trip.
Solution: Ensure that the grow bag was not over‑watered before loading. Excess moisture can evaporate quickly, causing stress. Adjust watering schedule accordingly.
Conclusion
This guide has outlined a systematic approach to transporting potted plants safely using a trunk organizer, a leak‑proof cooler bag, and breathable fabric grow bags. By preparing the plants, configuring the organizer, securing it firmly, and handling the load with care, one can minimise spills, protect root systems, and preserve plant health during travel. The recommended products provide durability, flexibility, and convenience that surpass generic alternatives, yet the principles described remain applicable even without them.
Readers are encouraged to apply these methods on their next garden outing, market delivery, or relocation. With practice, the process becomes routine, allowing one to move a greater number of plants with confidence and efficiency.
Products Mentioned in This Guide


Frequently Asked Questions
What size car trunk organizer should I choose for different pot dimensions?
Select an organizer that is at least 2‑3 inches larger than the pot’s diameter and depth to allow cushioning material around it.
How can I prevent soil from spilling out of the pots during transport?
Place each pot in a leak‑proof cooler bag or zip‑lock liner and secure the bag with rubber bands before loading it into the organizer.
Should I water the plants before moving them in the trunk?
Water lightly 2‑3 hours prior so the soil is moist but not soggy, reducing stress while avoiding excess liquid that could leak.
What is the best way to secure the trunk organizer so it doesn’t shift while driving?
Anchor the organizer to the trunk’s built‑in tie‑downs or use non‑slip matting and strap it with ratchet belts for firm attachment.
What temperature precautions are needed for delicate potted plants during a car trip?
Keep the trunk shaded, avoid extreme heat or cold, and consider a portable fan or insulated blanket to maintain a moderate temperature.