How to Stage a Car Trunk for Online Listings: 9 Photo-Proven Tips to Sell Faster
Introduction
When a potential buyer browses a vehicle listing, the trunk often determines whether the sale proceeds or stalls. A well‑organized trunk conveys care, cleanliness, and value, encouraging confidence in the vehicle's overall condition. This guide teaches the reader how to transform a cluttered cargo area into a visually appealing showcase using nine proven, photo‑ready steps. By following the instructions, one can reduce buyer hesitation, increase perceived worth, and ultimately close the deal more quickly.
The techniques presented are practical for any car type—sedan, SUV, or hatchback—and rely on inexpensive tools that professional photographers and seasoned resellers favor. Although the guide recommends specific products, the core principles remain effective without any purchase. Readers will learn how to clean, organize, light, and photograph the trunk so that every angle appears immaculate and inviting.
What You'll Need
- Microfiber cleaning cloths
- All‑purpose interior cleaner
- Portable LED light panel or a handheld flashlight
- Neutral‑colored backdrop fabric (optional)
- Gorilla Grip Trunk Organizer
- Sposuit 70L Car Trunk Organizer
Step 1: Empty and Vacuum the Trunk
The first impression begins with a completely empty space. Remove all items, including spare tires, floor mats, and any loose debris. Use a shop‑vac with a narrow nozzle attachment to extract dust, sand, and pet hair that accumulate in crevices. A clean surface eliminates distracting shadows and ensures that subsequent lighting is even.
Why this matters: Buyers often assume that a clean trunk reflects overall vehicle maintenance. A vacuumed interior also prevents unwanted particles from appearing in the final photograph, which could otherwise suggest neglect.
Step 2: Deep Clean All Surfaces
Apply an all‑purpose interior cleaner to the trunk walls, lid, and floor. Work the product into the plastic panels with a microfiber cloth, then wipe away any residue with a second clean cloth. Pay special attention to the rubber seal around the trunk lid, as it tends to collect grime.
Allow the surfaces to air dry for a few minutes. A glossy, streak‑free finish enhances the reflective quality of the trunk, making it appear larger and more polished in photos.
Step 3: Install a Primary Organizer
To demonstrate purposeful storage, place the Gorilla Grip Trunk Organizer in the central area of the cargo space. This organizer offers a sturdy, corrugated‑plastic construction that holds up to 60 pounds, ensuring it will not collapse under the weight of groceries or tools. Its nonskid feet and optional cargo straps keep it stable while driving, which translates to a tidy appearance during the photo shoot.
Features such as water‑resistant woven fabric protect against spills, while the collapsible design allows the organizer to be folded flat when not needed. The large capacity of 2.08 cubic feet provides ample room for demonstration items without overcrowding the frame.
Step 4: Add a Secondary Organizer for Smaller Items
Complement the primary unit with the Sposuit 70L Car Trunk Organizer. This organizer features eleven pockets, including eight side cloth pockets and three large mesh compartments, ideal for arranging smaller accessories such as charging cables, emergency kits, and cleaning supplies.
Constructed from 600D Oxford polyester, the Sposuit organizer is abrasion‑resistant and easy to wipe clean with a damp cloth. Its Velcro‑secured compartments keep items from shifting, creating a neat, segmented look that photographs well.
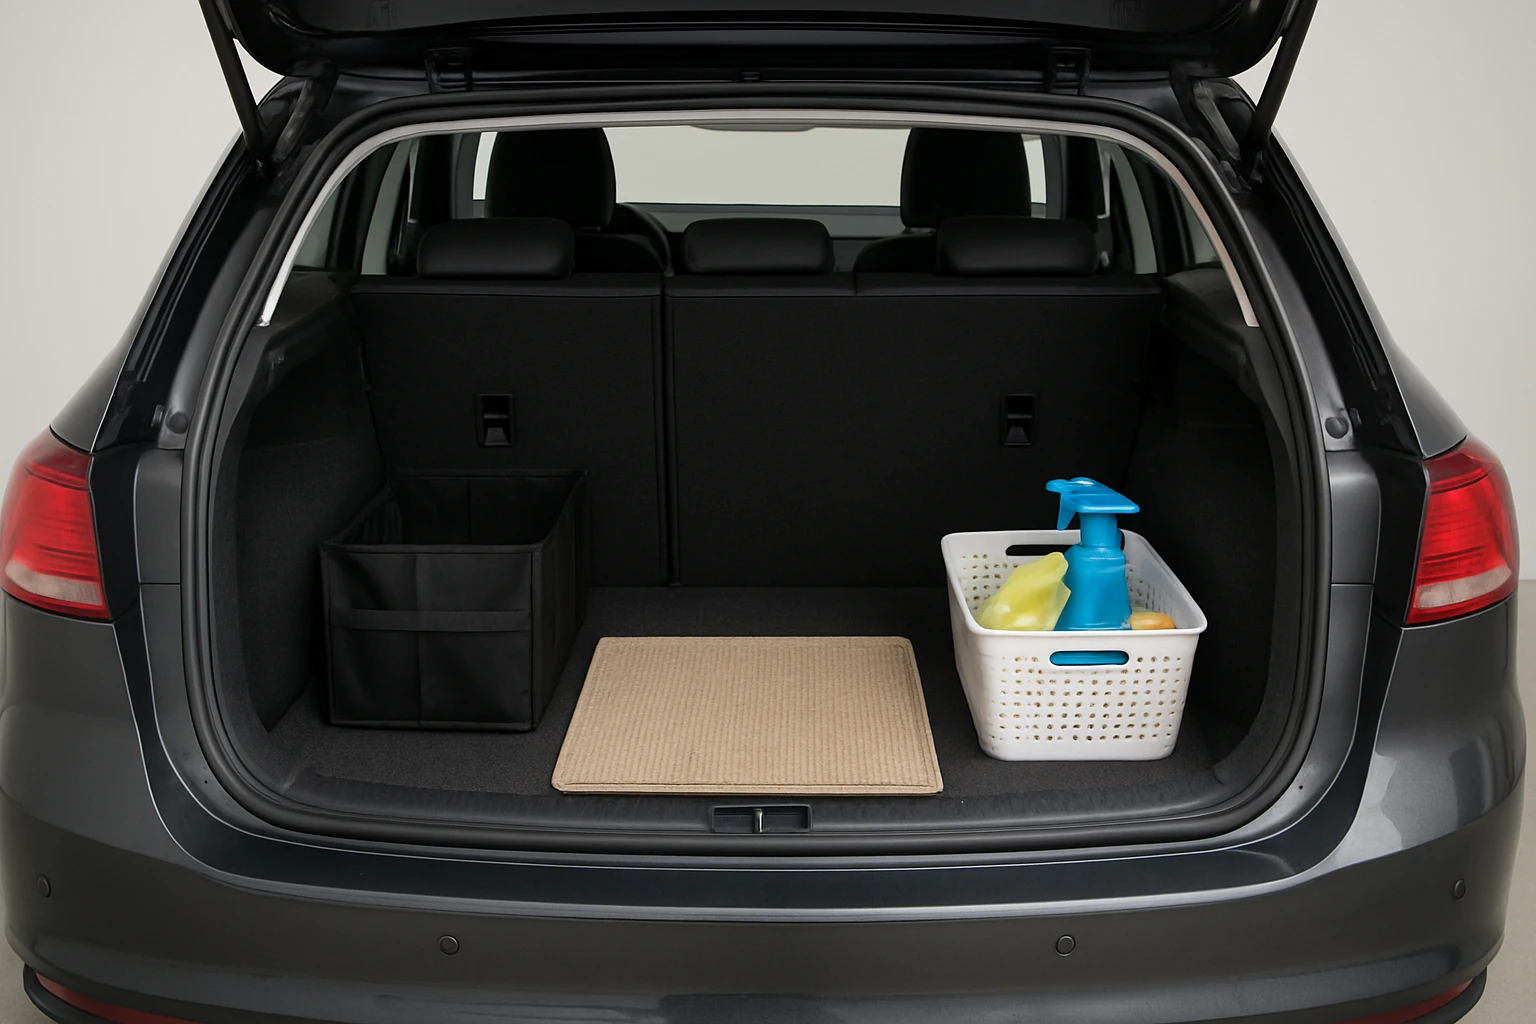
Step 5: Arrange Demonstration Items Strategically
Select a few representative items that illustrate the trunk's utility: a grocery bag of produce, a set of sports equipment, or a toolbox. Place larger items in the Gorilla Grip organizer's main compartment, and distribute smaller accessories into the Sposuit pockets. Ensure that each item is visible and not obscured by others.
This arrangement serves two purposes: it showcases the organizer's capacity and provides visual cues to potential buyers about how they might use the space. Avoid over‑packing, as excess clutter can make the trunk appear cramped.
Step 6: Optimize Lighting for a Clean Look
Natural daylight is preferred, but when shooting indoors, position a portable LED light panel at a 45‑degree angle to the trunk opening. The light should be diffused to eliminate harsh shadows and glare on reflective surfaces. If an LED panel is unavailable, a handheld flashlight with a soft white bulb can serve as a substitute.
Consistent lighting across all nine photos ensures that color accuracy is maintained, preventing the trunk from appearing too dark or overly bright. Proper illumination also highlights the texture of the organizers, reinforcing the perception of quality.
Step 7: Capture Multiple Angles
Take at least nine photos: a wide shot of the entire trunk, close‑ups of each organizer, a side view showing depth, and a top‑down perspective that reveals the layout. Use a tripod or a stable surface to avoid camera shake, and set the camera to a low ISO (100–200) to preserve detail.
When framing the shots, leave a small margin around the trunk opening to provide context without distracting from the main subject. Consistent framing across images creates a cohesive visual story for the listing.
Step 8: Edit for Consistency
Import the images into a basic editing program such as Adobe Lightroom or a free alternative like GIMP. Adjust exposure, contrast, and white balance so that the trunk appears true‑to‑life. Crop any unnecessary background and sharpen the edges of the organizers to emphasize their texture.
Do not over‑edit; excessive saturation or artificial shadows can mislead buyers and lead to disputes after purchase. A modest, professional finish conveys trustworthiness.
Step 9: Upload with Descriptive Captions
When adding the photos to the online listing, accompany each image with a concise caption that highlights the feature shown—e.g., “Gorilla Grip Trunk Organizer holding grocery bags” or “Sposuit pockets storing emergency tools.” Captions improve SEO and help buyers quickly understand the benefits of the organized trunk.
Finally, mention the price and condition of the vehicle, and include a brief note about the included organizers if they are part of the sale. Transparency builds confidence and can accelerate the negotiation process.
Tips & Pro Tips
- Use a neutral‑colored backdrop (e.g., gray fabric) behind the trunk to avoid color casts.
- Place a small reflective surface (like a white card) near the organizer to bounce light into darker corners.
- When photographing a dark‑colored trunk, use a light‑colored floor mat to increase contrast.
- Schedule the shoot on a cloudless day to take advantage of consistent natural light.
- Test the photo layout on a mobile device to ensure that the images appear clear on all screen sizes.
Troubleshooting
- Problem: Organizers shift during the shoot.
Solution: Engage the cargo straps on the Gorilla Grip organizer and secure the Velcro tabs on the Sposuit organizer before positioning items. - Problem: Shadows obscure details.
Solution: Add a second LED panel opposite the first or use a reflector (a white poster board works well) to fill in dark areas. - Problem: Trunk appears smaller than it is.
Solution: Use a wide‑angle lens sparingly and keep the camera at a moderate distance to avoid distortion.
Conclusion
By following these nine photo‑proven steps, one can stage a car trunk that looks organized, spacious, and ready for use. The combination of thorough cleaning, strategic organizer placement, and proper lighting creates images that attract buyers and convey professionalism. Whether one chooses to include the recommended organizers or relies on existing storage solutions, the principles outlined will help sell the vehicle faster and at a better price.
Products Mentioned in This Guide
Frequently Asked Questions
Why does a clean trunk matter for online car listings?
A tidy trunk signals overall vehicle care, boosts perceived value, and reduces buyer hesitation.
What basic tools are needed to stage a car trunk?
Microfiber cloths, an all‑purpose interior cleaner, and a portable LED light or flashlight are sufficient.
How can I eliminate shadows when photographing the trunk?
Use a portable LED light panel positioned at a 45° angle to evenly illuminate the space and minimize shadows.
Should I remove all items from the trunk before shooting?
Yes, clear out clutter, then replace only a few neat items to showcase space without distraction.
How do I make the trunk look spacious in photos?
Clean the surface, arrange a simple backdrop like a clean floor mat, and use a wide‑angle shot from the rear seats.