How to Set Up a Trunk Organizer for Rideshare Family Drivers: Step‑by‑Step Guide to Storing Kids' Gear, Groceries & Essentials
Introduction
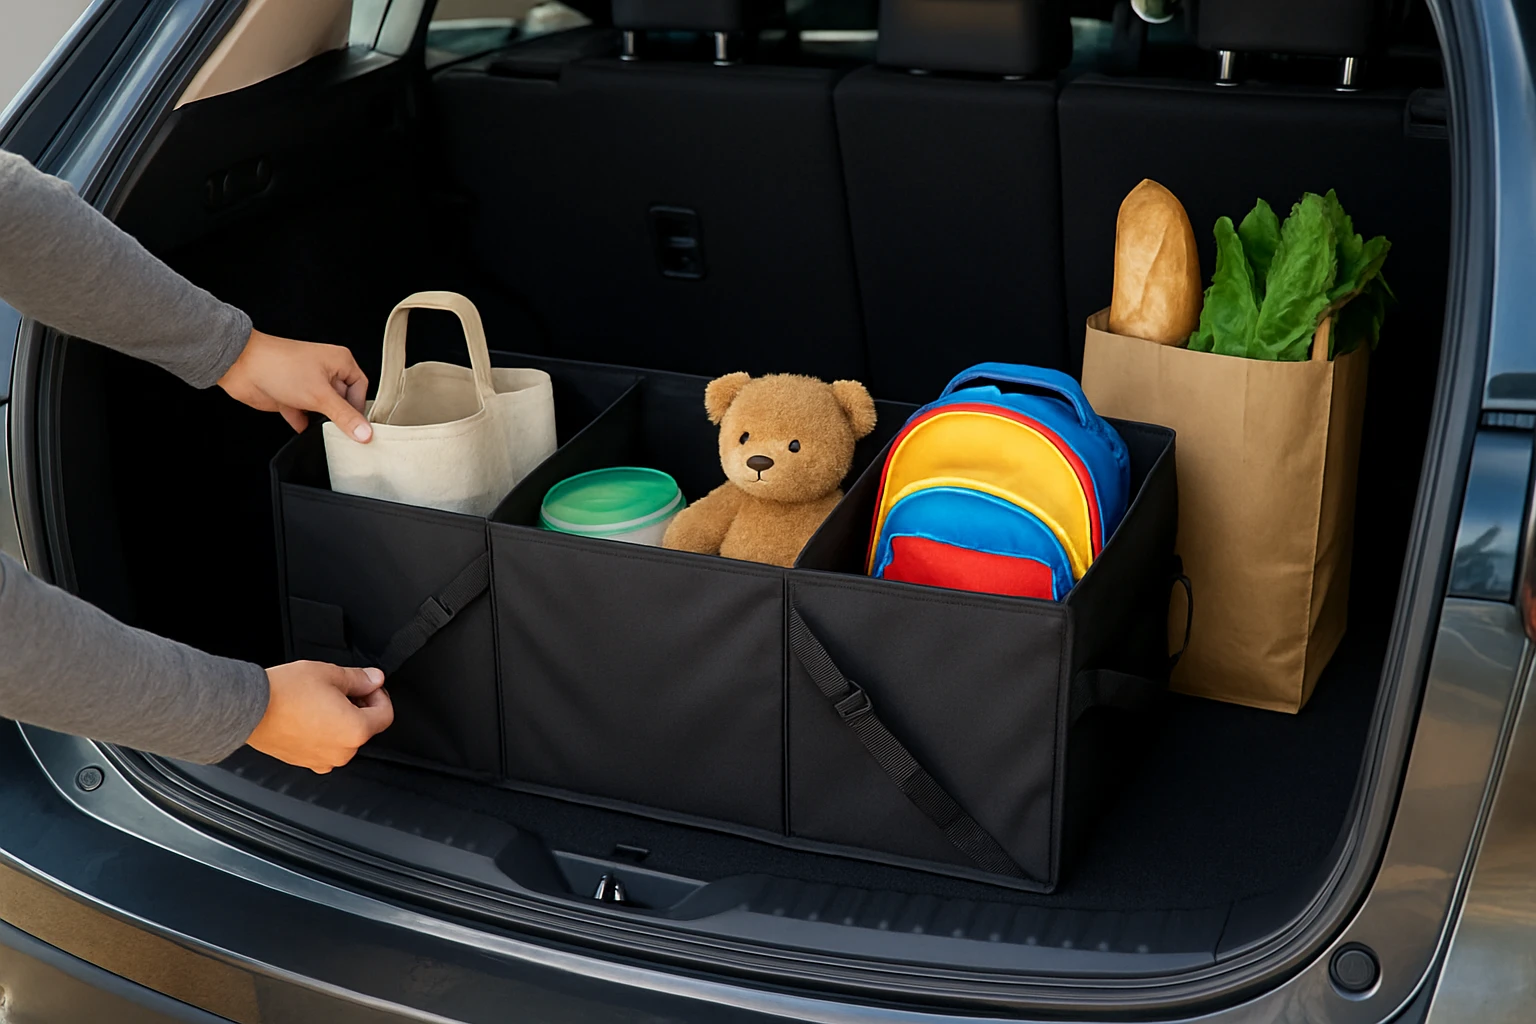
Family rideshare drivers often juggle children, grocery bags, and everyday essentials while maintaining a professional appearance. A well‑designed trunk organizer can transform a chaotic cargo area into a structured workspace. This guide explains how to assess vehicle space, select the appropriate organizer, install it securely, and configure compartments for specific items such as child seats, snack containers and emergency kits. By following these instructions, drivers will improve safety, reduce loading time, and present a cleaner interior to passengers.
The instructions are written for drivers who own SUVs, minivans or larger sedans. The recommendations include five Amazon‑listed products that have proven durability, high customer ratings and features tailored to rideshare needs. The guide remains valuable even without purchasing any product, because it emphasizes planning, placement and maintenance principles that apply to any storage solution.
What You'll Need
- One or more trunk organizers (see product recommendations below)
- Measuring tape or a laser distance tool
- Scissors or a utility knife for trimming straps
- Velcro straps or tie‑down anchors (often included with organizers)
- Cleaning wipes for the interior surface
Step‑by‑Step Instructions
Step 1: Measure the Cargo Area and Identify High‑Priority Items
Begin by measuring the length, width and height of the trunk space when the rear seats are folded down. Record the dimensions in inches; most organizers list their expanded size for direct comparison. Identify the items that will be stored most frequently: child car seats, diaper bags, reusable grocery bags, snack containers, and a small emergency kit. Prioritising these items helps decide whether a single large organizer or a combination of smaller units will provide the best fit.
For example, a driver with a 35‑inch long cargo area may find that a HEYTRIP Large Trunk Organizer (35.0" L × 14.5" W × 12.5" H, 105 L capacity) fills the space efficiently while still leaving room for a cooler bag. The dimensions of each product are listed in the product section, allowing a quick visual match.
Step 2: Choose the Organizer That Matches Your Vehicle and Load Profile
If the vehicle is a compact sedan, a lightweight, foldable option such as the JiatuA Floral Car Trunk Organizer (22" L × 12.5" W × 10.8" H) provides sufficient compartments without overwhelming the space. Its 600D Oxford fabric is waterproof, which protects spilled liquids from damaging upholstery.
For drivers who frequently transport groceries and need a built‑in cooler, the HOTOR Car Trunk Organizer with Cooler offers a detachable insulated compartment that keeps drinks cold for hours. The cooler bag can be removed and carried as a handheld cooler, reducing the number of separate items the driver must manage.
When maximum durability is required—such as for drivers who haul sports equipment or large pet carriers—the TRUNKCRATEPRO Car Trunk Organizer provides heavy‑duty Oxford polyester, reinforced stitching and a rigid base that prevents collapse under heavy loads. Its three compartments and removable sub‑dividers allow custom configurations for child safety seats, diaper bags and grocery bags.
For drivers who prefer a hanging solution that frees the floor for bulky items, the AUCELI Hanging Car Trunk Organizer attaches to the rear seat headrest, keeping small toys, wipes and charging cables within arm’s reach while preserving floor space for larger luggage.
Step 3: Prepare the Trunk Surface
Clean the trunk floor with a mild interior cleaner and a lint‑free cloth. Remove any loose debris that could interfere with the organizer’s anti‑slip pads or Velcro anchors. A clean surface enhances the grip of non‑slip pads found on the HEYTRIP and TRUNKCRATEPRO models, reducing movement during sudden braking.
If the chosen organizer includes tie‑down straps, locate the vehicle’s existing anchor points (often found near the wheel wells). Attach the straps securely, tightening them until the organizer sits flush against the trunk walls. This step is essential for safety; a shifting organizer can become a projectile in an accident.
Step 4: Install the Base Organizer and Configure Compartments
Unfold the selected organizer on the trunk floor. For the TRUNKCRATEPRO, insert the rigid base plates and lock the center divider in place. The product’s patented sub‑divider system allows the driver to allocate one side for child‑related items (e.g., diaper bag, small toys) and the other side for groceries. The durable Oxford polyester resists water and abrasion, making it ideal for spills from juice boxes or wet diaper bags.
With the JiatuA model, snap the side mesh pockets into place and use the Velcro compartments to separate reusable grocery bags from cleaning supplies. The high‑density dividers keep the organizer upright, even when only a few items are loaded.
If a cooler is required, position the HOTOR cooler compartment at the rear of the organizer where it will not interfere with seat‑back access. The insulated liner maintains temperature for up to six hours, which is sufficient for a typical rideshare shift.
For the HEYTRIP organizer, adjust the four removable dividers to create a dedicated space for a first‑aid kit, a spare water bottle, and a folded blanket. The built‑in leak‑proof cooler (35 L capacity) can store perishable groceries while the non‑slip pads keep the entire unit stable.
Step 5: Hang Supplemental Storage for Quick‑Access Items
Attach the AUCELI Hanging Organizer to the rear seat headrest using its three adjustable straps. Place frequently needed items—such as a handheld charger, baby wipes, and a small snack pack—within the front pockets. Because the organizer hangs above the seat, passengers can retrieve items without the driver having to stop the vehicle.
Ensure the Velcro lids are fully closed to prevent items from falling out during sudden stops. The hanging design also protects the floor from water stains caused by wet items, a common concern for drivers who transport children.
Step 6: Secure, Test, and Refine the Layout
After all components are in place, close the trunk and gently shake the vehicle to test stability. If any movement is detected, tighten tie‑down straps or reposition the organizer’s anti‑slip pads. Verify that the driver’s line of sight remains unobstructed and that the rear‑seat passenger can still access the hanging organizer without difficulty.
Conduct a trial run by loading a typical set of groceries, a diaper bag, and a cooler bag. Observe how each item settles. Adjust compartment dividers as needed to prevent items such as wine bottles or heavy grocery bags from sliding during cornering.
Finally, create a quick reference checklist (e.g., "Cooler bag sealed, Velcro straps tightened, hanging organizer stocked") that the driver can review before each shift. This habit reinforces consistency and reduces the chance of forgotten items.
Tips & Pro Tips
- Use clear zip‑top bags for loose items such as snacks or small toys; this adds an extra layer of protection against spills.
- Label each compartment with a removable label or a small piece of masking tape to streamline loading and unloading.
- For long‑distance rides, place a small blanket or travel pillow in the HEYTRIP cooler compartment; the insulated walls keep it warm and the cooler’s tie‑down straps prevent it from shifting.
- Periodically inspect Velcro fasteners for wear; replace them if the adhesive loses grip, especially on the AUCELI hanging organizer.
- When cleaning, remove the organizer from the vehicle and wipe it down with a damp cloth. The waterproof Oxford fabric on all five products resists stains, making maintenance simple.
Troubleshooting
| Problem | Possible Cause | Solution |
|---|---|---|
| Organizer slides during braking | Insufficient tie‑down tension or worn anti‑slip pads | Re‑tighten straps, replace pads with new ones from the original kit. |
| Cooler does not stay cold | Improper sealing of the insulated bag | Check that the Velcro closure is fully engaged; add a reusable ice pack for extended trips. |
| Hanging organizer detaches | Strap not fully engaged on headrest | Re‑adjust strap length and ensure the buckles click securely. |
| Items fall through side pockets | Mesh pockets overloaded | Distribute weight evenly and avoid placing heavy objects in mesh sections. |
Conclusion
By measuring the cargo area, selecting a suitable organizer, installing it securely and configuring compartments for specific family items, rideshare drivers can achieve a tidy, efficient trunk that enhances passenger experience and driver safety. The recommended products—TRUNKCRATEPRO, JiatuA Floral, HOTOR with Cooler, HEYTRIP Large, and AUCELI Hanging—each address distinct needs such as heavy‑duty durability, waterproof protection, insulated cooling, modular dividers and space‑saving hanging storage. Implementing the steps and tips outlined in this guide will reduce loading time, prevent spills, and present a professional interior that passengers appreciate.
Products Mentioned in This Guide
Frequently Asked Questions
How do I choose the right size trunk organizer for my rideshare vehicle?
Measure your trunk’s length, width, and depth, then select an organizer that fits those dimensions while leaving room for passenger access.
What is the best way to install a trunk organizer securely?
Use the built‑in straps, hooks, or Velcro loops to anchor the organizer to the trunk floor and side rails, preventing it from shifting during trips.
How should I organize kids' gear and groceries within the trunk organizer?
Assign dedicated compartments for child seats, snack containers, and grocery bags, keeping frequently used items in the front for easy reach.
Can I use a trunk organizer without buying a specific product?
Yes, you can repurpose sturdy bins, collapsible crates, or DIY dividers as long as they fit your trunk and stay secured.
How often should I maintain or clean the trunk organizer?
Inspect and wipe it down after each shift, and perform a thorough clean every few weeks to prevent spills and wear.