How to Decontaminate a Trunk Organizer After Biohazard Exposure: Safe Cleanup & Disinfection Guide
Introduction
One often overlooks the potential health risks associated with a trunk organizer that has been exposed to biological contaminants. Whether the exposure resulted from a medical emergency, a spill of bodily fluids, or a pest infestation, improper handling can spread pathogens to passengers and the vehicle interior. This guide will teach the reader how to assess the situation, protect oneself, and execute a thorough decontamination process that restores the organizer to a safe, usable condition. By following these professional steps, one can minimize infection risk, comply with safety regulations, and preserve the longevity of the organizer.
What You'll Need
- Protective gloves (nitrile or latex)
- Disposable face shield or goggles
- Heavy‑duty garbage bags, such as Glad 13 Gal Drawstring Trash Bags
- Enzyme‑based cleaner for organic matter
- EPA‑registered disinfectant (e.g., quaternary ammonium solution)
- Soft‑bristle scrub brush
- Microfiber cloths
- Vacuum with HEPA filter
- Absorbent pads or paper towels
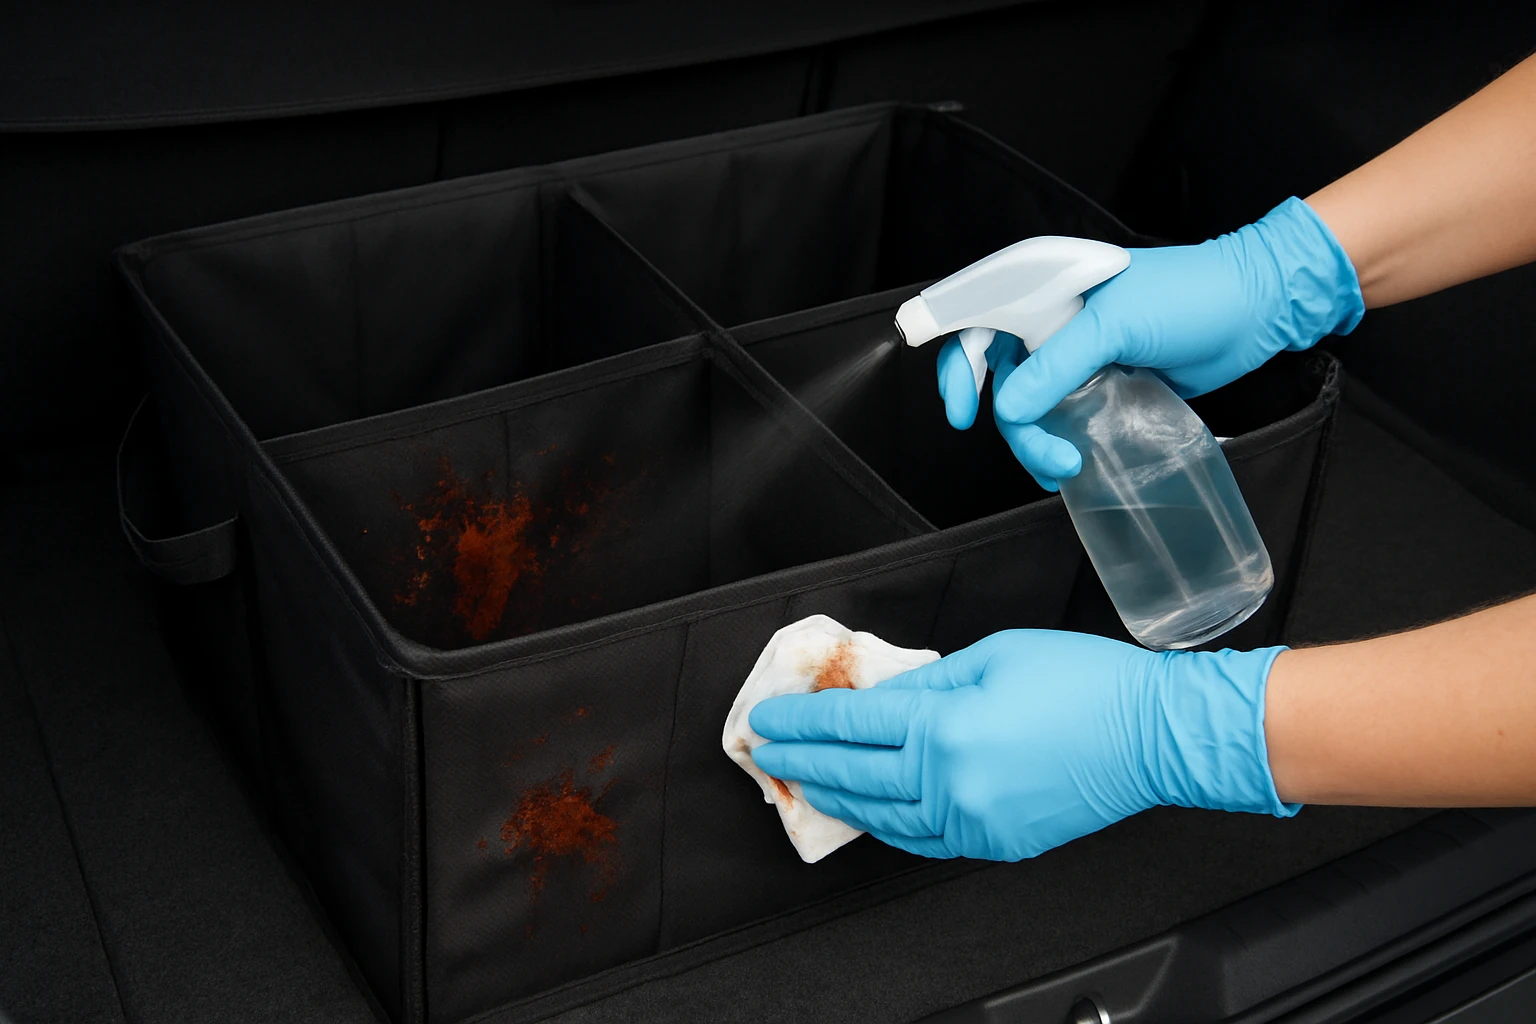
Step 1: Secure the Area and Wear Personal Protective Equipment (PPE)
The first priority is to prevent secondary contamination. One should park the vehicle in a well‑ventilated area, preferably outdoors, and close all doors to contain any aerosolized particles. Donning nitrile gloves and a face shield creates a barrier against direct contact with pathogens. The use of PPE is essential because biohazardous material can contain viruses, bacteria, or bloodborne pathogens that are transmissible through skin contact or mucous membranes.
Step 2: Remove Loose Debris and Contaminated Items
Begin by gently shaking the organizer to dislodge loose debris. Place all removable items, such as water bottles or small tools, into a sealed container for later cleaning. Using a vacuum equipped with a HEPA filter, one can capture fine particles that may harbor microorganisms. After vacuuming, use absorbent pads to blot any visible fluid without spreading it further.
Step 3: Contain and Dispose of Contaminated Materials
All waste generated during the cleanup—used gloves, absorbent pads, and disposable wipes—must be sealed inside a sturdy garbage bag. The Glad 13 Gal Drawstring Trash Bags are ideal for this purpose because their ForceFlex technology allows the bag to expand around sharp edges and heavy loads without tearing. The 2‑layer construction provides extra leak protection, ensuring that any residual fluid remains contained. The scented Febreze Fresh Clean fragrance also helps mask unpleasant odors, which can be beneficial in a confined vehicle cabin. Priced at $18.97 with a 4.7‑star rating from over 62,000 reviews, these bags combine durability with user comfort.
Step 4: Apply Enzyme‑Based Cleaner to Break Down Organic Matter
Biological contaminants often contain proteins and lipids that must be broken down before disinfection can be effective. An enzyme‑based cleaner works by catalyzing the degradation of these organic compounds, reducing the bioburden and allowing the disinfectant to reach the pathogens directly. Spray the cleaner liberally onto all surfaces of the organizer, paying special attention to seams and pockets where fluids can pool. Allow the solution to dwell for the manufacturer‑recommended time, typically five to ten minutes.
Step 5: Disinfect the Organizer Thoroughly
After the enzymatic action, apply an EPA‑registered disinfectant that is effective against a broad spectrum of viruses and bacteria. Quaternary ammonium compounds are widely used in healthcare settings because they remain active on surfaces for an extended period. Using a soft‑bristle scrub brush, work the disinfectant into the fabric and hard‑to‑reach crevices. Let the disinfectant remain wet for the contact time specified on the label, usually four minutes, to ensure complete pathogen kill.
Step 6: Rinse and Dry
Once the contact time has elapsed, wipe the organizer with a clean, damp microfiber cloth to remove any chemical residue. Excess moisture can promote mold growth, so it is crucial to dry the organizer thoroughly. Place the organizer in a sunny, well‑ventilated area or use a portable fan to accelerate drying. The combination of airflow and sunlight provides an additional natural disinfectant effect.
Step 7: Re‑package and Store Safely
When the organizer is completely dry, inspect it for any remaining stains or odors. If the material appears intact, one can re‑insert the previously removed items after they have been individually cleaned. Store the organizer in a clean part of the trunk, away from direct sunlight to prevent material degradation. For future incidents, keep a spare Glad 13 Gal Drawstring Trash Bags in the vehicle for immediate containment.
Tips & Pro Tips
- Always test a small, hidden area of the organizer with the cleaner and disinfectant to ensure that the fabric does not discolor or degrade.
- When working with bloodborne pathogens, consider using a double‑glove technique; remove the outer glove first to avoid contaminating the inner glove.
- Keep a small bottle of disinfectant wipes in the vehicle for quick spot cleaning between major decontamination events.
- Label the garbage bags with the date of disposal; many biohazard regulations require documentation of waste handling.
Troubleshooting
Problem: Persistent odor after cleaning.
Solution: Re‑apply a light mist of the Febreze‑scented Glad trash bag interior (by opening a fresh bag and allowing the scent to diffuse) or use a commercial odor‑neutralizing spray designed for fabrics.
Problem: Stubborn stains remain after enzymatic cleaning.
Solution: Use a soft‑brush scrub with a diluted hydrogen peroxide solution (3%) for an additional bleaching effect, then re‑disinfect.
Conclusion
One now possesses a systematic, evidence‑based approach to decontaminate a trunk organizer after biohazard exposure. By securing the area, using appropriate PPE, containing waste with durable Glad 13 Gal Drawstring Trash Bags, and following the seven‑step cleaning protocol, one can restore safety and confidence in the vehicle interior. Regular maintenance and immediate response to spills will further reduce the risk of future contamination.
Products Mentioned in This Guide
Frequently Asked Questions
What protective gear should I wear when cleaning a biohazard‑contaminated trunk organizer?
Wear nitrile or latex gloves and a disposable face shield or goggles to prevent skin and eye exposure.
Which cleaners are recommended for removing organic matter before disinfection?
Use an enzyme‑based cleaner to break down bodily fluids and other organic residues.
What type of disinfectant is safe and effective for trunk organizers?
Apply an EPA‑registered disinfectant, such as a quaternary ammonium solution, following the label’s contact time.
How should I dispose of the contaminated organizer and cleaning materials?
Place the organizer, gloves, and any used wipes in heavy‑duty garbage bags and seal them before discarding according to local biohazard regulations.
How long should the disinfectant remain on the organizer before wiping it off?
Allow the disinfectant to stay wet for the manufacturer‑specified contact time, typically 5–10 minutes, then wipe clean.